I’ve tackled dozens of space renovations during the course of this blog, but there was one place in my house that I kept ignoring as the years went by and that was the sad state of my kitchen pantry.
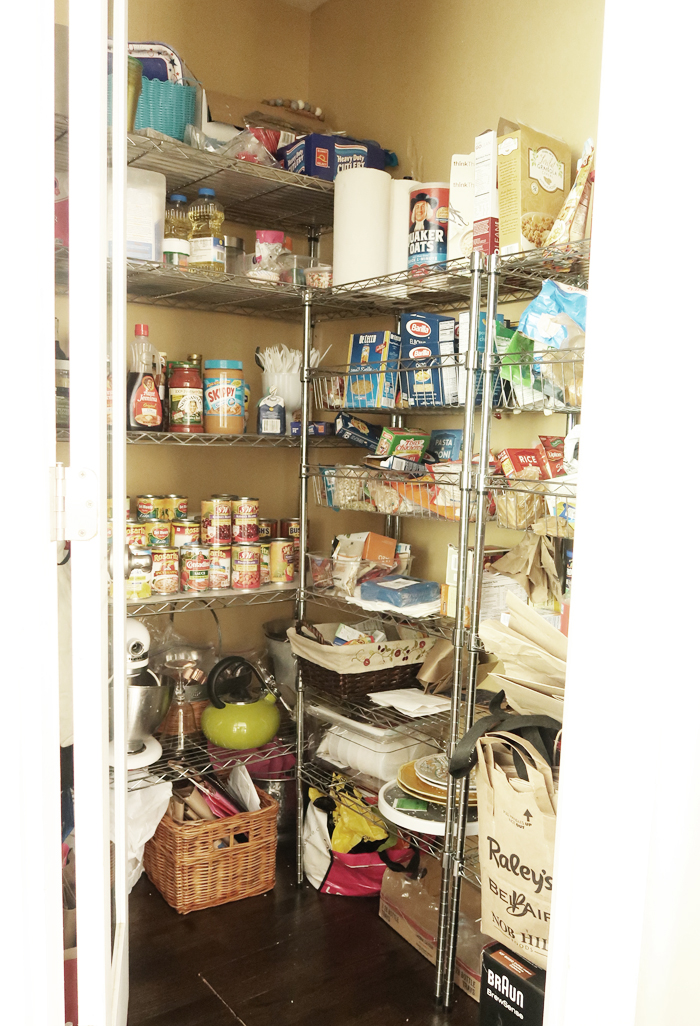
For the longest time, this 4×6′ walk in space housed utilitarian metal shelves – they served a purpose holding my pantry staples, but the whole situation in there was unorganized and unsightly. When people came to visit, that was the first door that I closed to hide it from view. I finally got around to building pantry shelves for my walk in pantry, so now I need not worry about shutting the door because the new shelves are something to be proud of.
Confession: this was the way my pantry looked before the new built in shelving. I knew needed so much help but I couldn’t find the energy to fix it, that is until two weeks ago. Look how bad it was before:
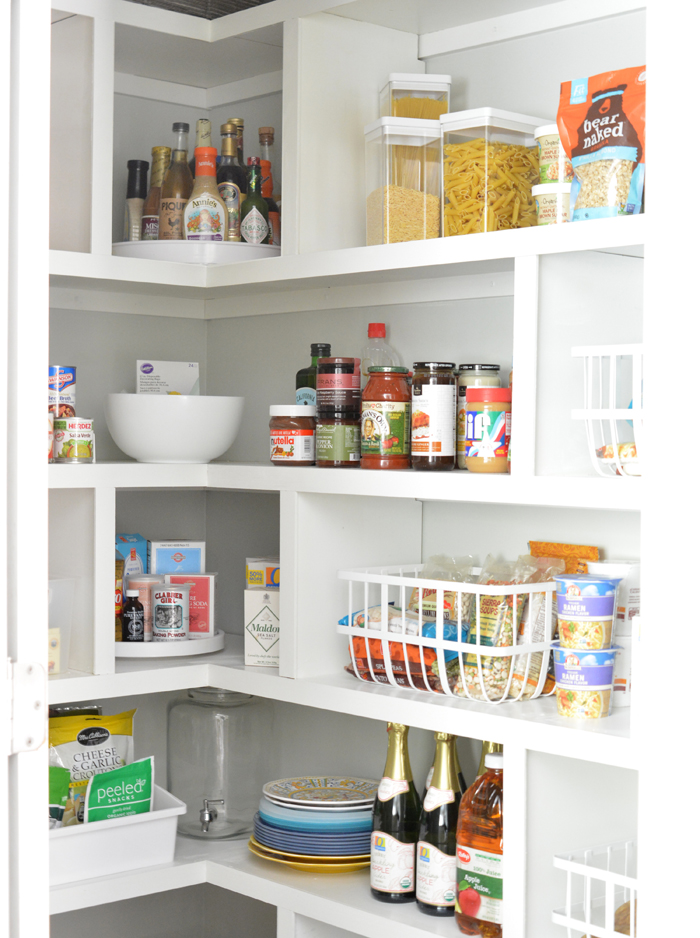
I partner with Arrow Fastener a few times a year to demonstrate their tools, and for this project I used their pin nailer (more details below) but first, take a look at the new DIY pantry shelves, they are a dramatic improvement compared to what was there before!
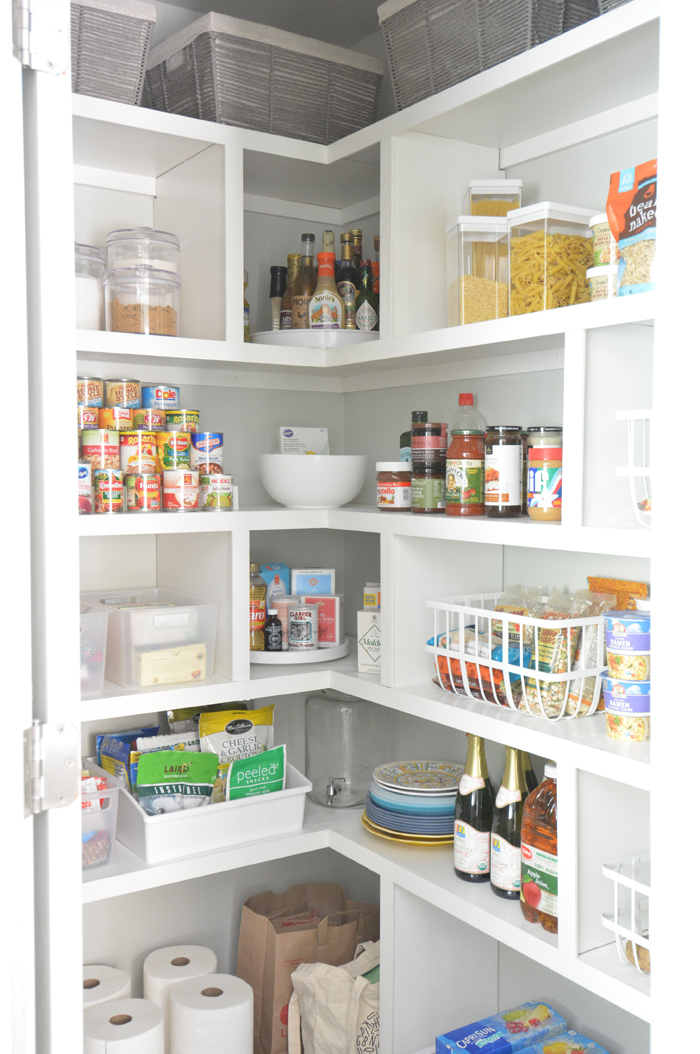
Before the build, I had to decide exactly how I wanted to use this space and it’s really for food items only. I store cleaning supplies and small appliances and spices elsewhere so this pantry was designed with that in mind.
I’m most pleased with the vertical shelf dividers, I like that these separate cubbies introduce a greater sense of organization by category: breakfast foods, baking supplies, canned goods, etc.
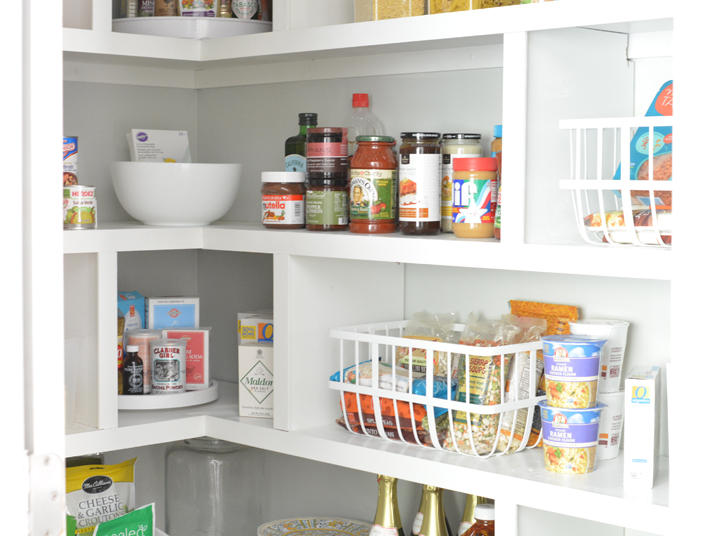
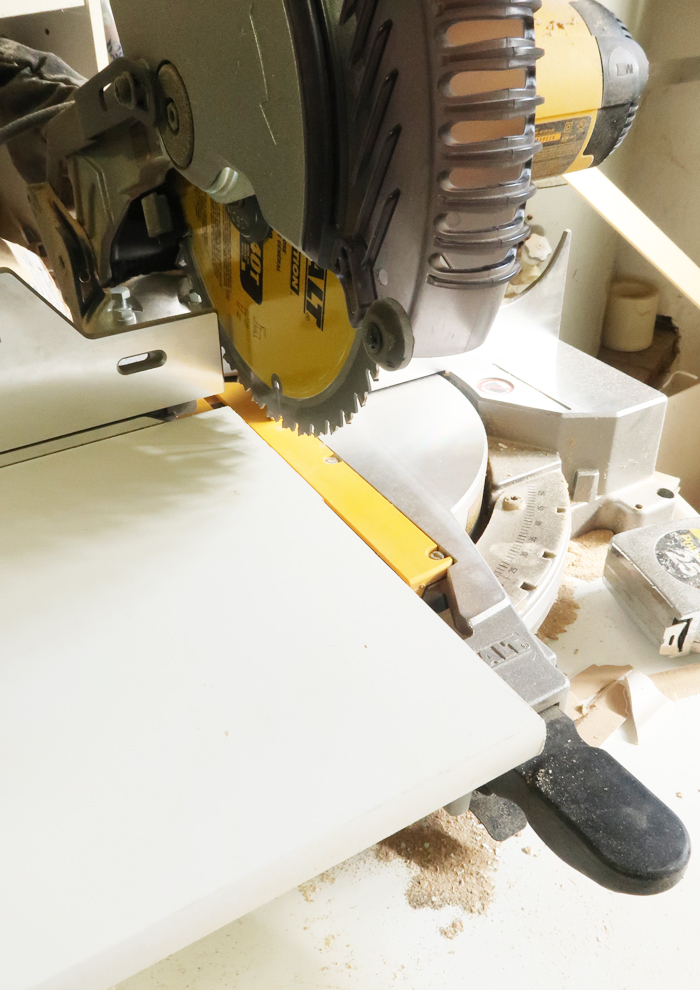
I had a lot of help from Matt on this project, after I explained my vision for the pantry, he cut the shelves with the miter saw and screwed the supports and shelves into place. In the more narrow section of the pantry (on the left) that is 4′ wide we installed 15″ deep shelves, and in the longer section that stretches 6′ wide (on the right) we installed 12″ deep shelves.
I bought the materials used to build these shelves at Lowe’s including the 12″ and 15″ deep particle board shelves, the ¾” x 1½” shelf support base, and 1½” lattice trim. All of the materials are available in their wood and trim department.
Forgive the quality of some of these in-progress pictures, several were taken in the evening so the light was compromised but you’ll get the idea.
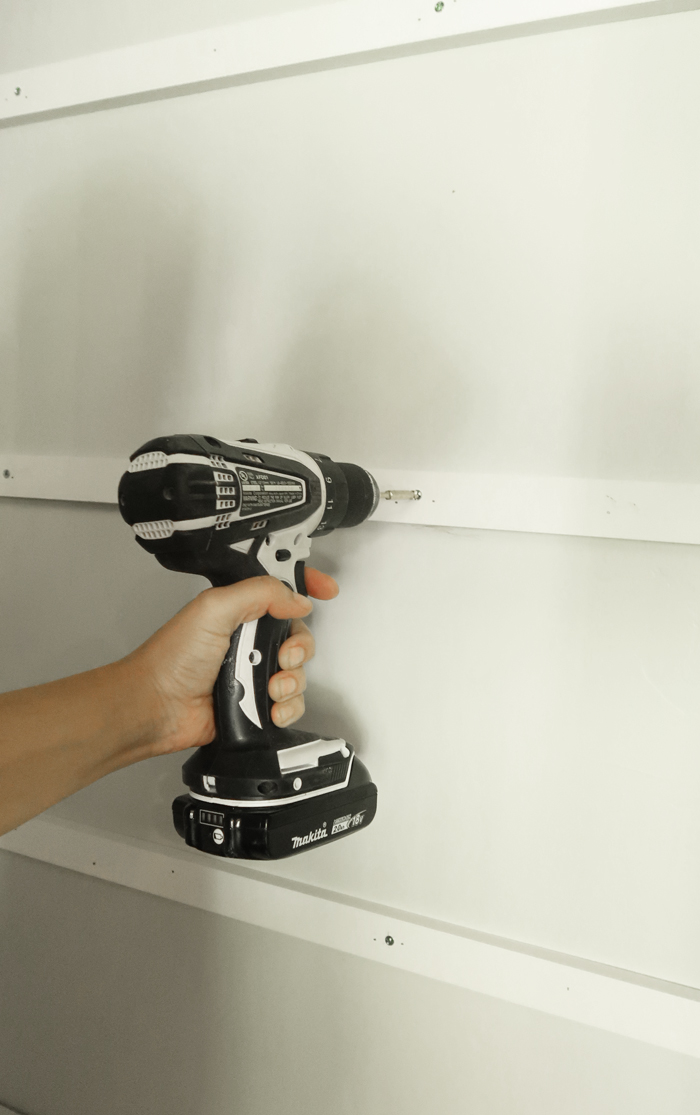
The first step was to cut and install the shelf supports, for this we used ¾ x 1½” pre primed trim. It was cut to the necessary length on both sides of the pantry, then screwed into the wall studs at the specified height.
A basic miter saw will trim the particle board shelves.
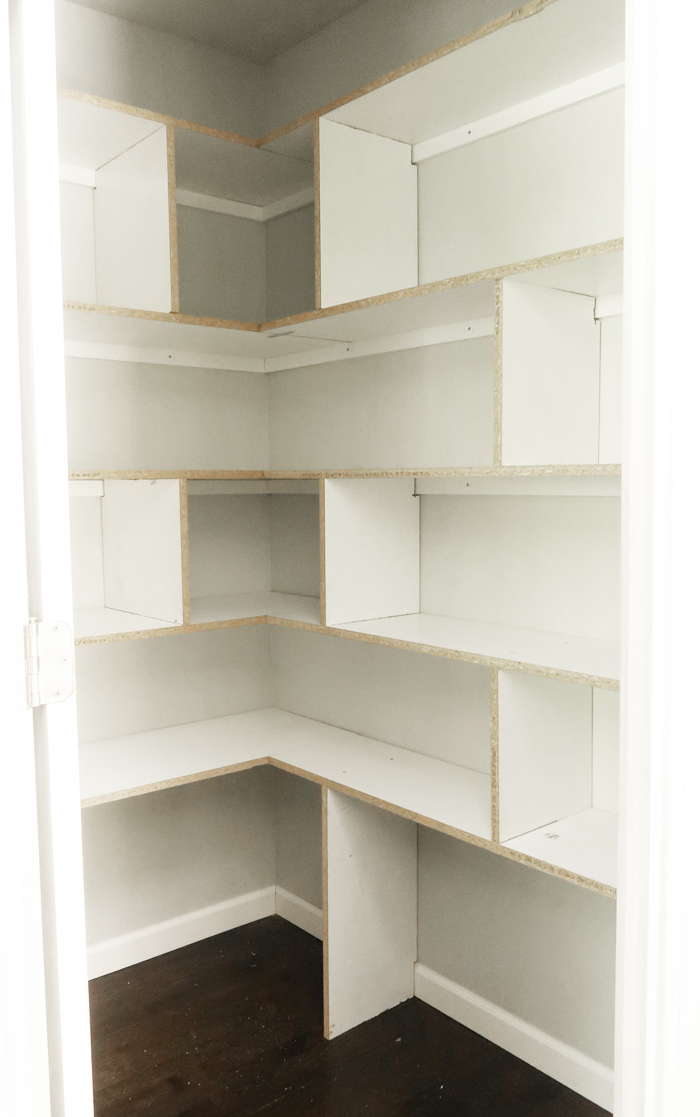
In the next few photos you’ll notice that I installed the particle board shelving with the raw back facing out and not the finished edge.
No I’m not crazy, and yes I did that on purpose. There is a method to my madness. The finished edge of these particle board shelves have a slight curve to them. I knew I was adding lattice trim to the edges of all of these shelves to make them look thicker, and the raw edge was better for that purpose because it’s flat, not curved, which is why I flipped them around and why you see the shelves installed with the raw edge facing out.
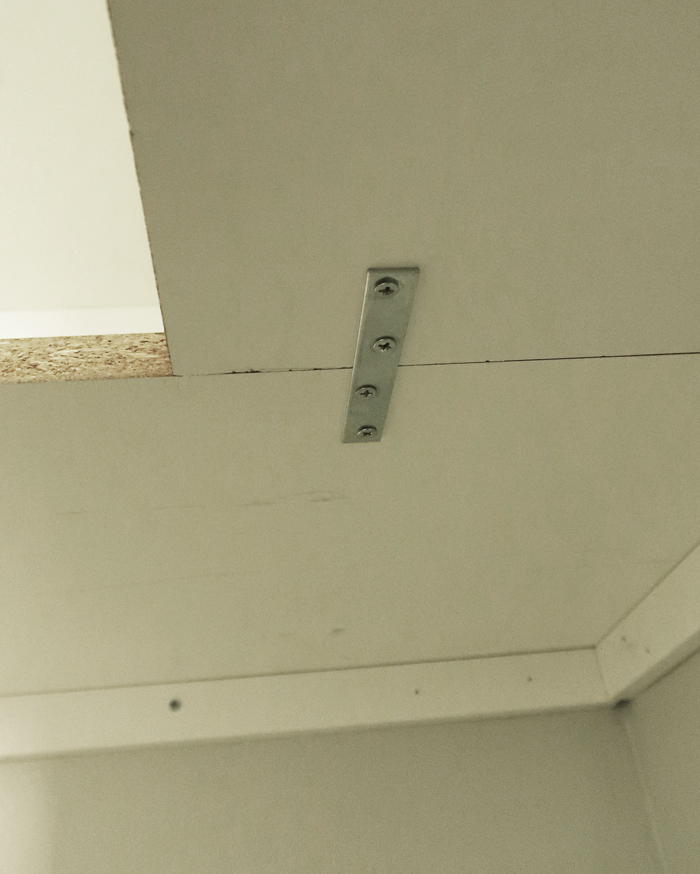
Anyway, the next step was installing the horizontal shelves, they were all cut to fit the space with the 12″ shelves butting up against the 15″ shelves. They were secured together with a flat bracket to stabilize them where they’re joined. The bracket is attached underneath the shelves where they meet to form the corner.
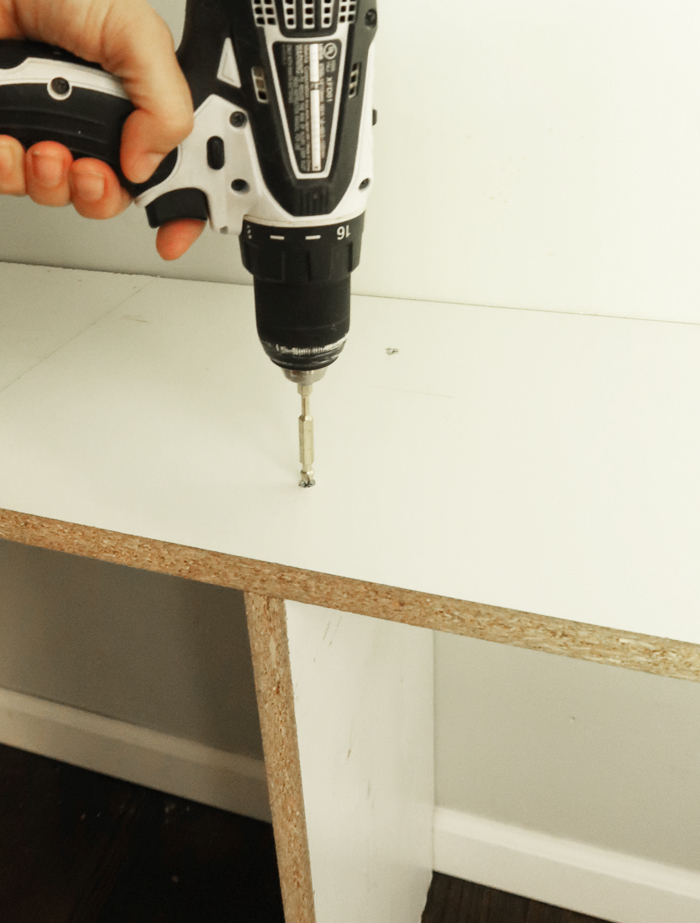
The shelves were built from the bottom up, first securing the bottom shelves onto the shelf supports underneath. It’s necessary to drill a pilot hole first before screwing the horizontal and vertical pieces together.
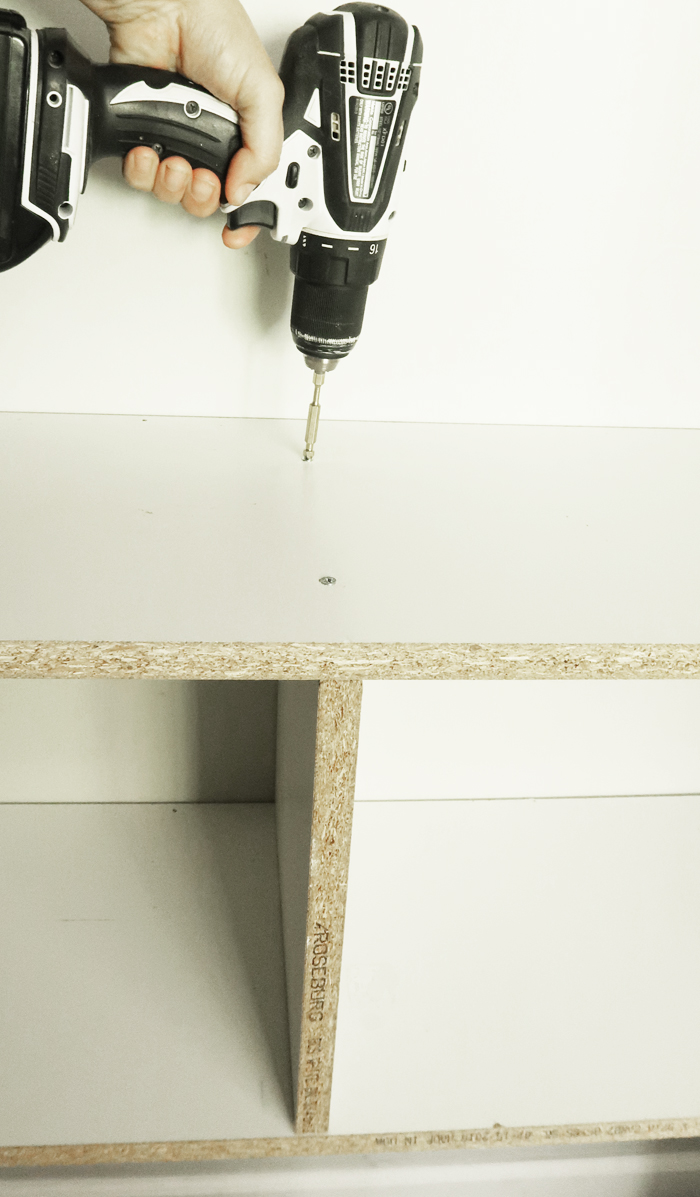
Here’s the image of the shelves once they were built, yes again notice the raw edge faces out. You can also see how the vertical boards were notched around the support trim.
My secret weapon for making giving the shelves greater thickness was the Arrow Fastener Pneumatic Pin Nailer. It uses the tiniest headless pin nails, these are smaller than brad nails and perfect for trim work. The tool is extremely lightweight with a built in safety and easy grip trigger. It requires a compressor but with it, the tool worked so fast, it was easy to tack the trim up in minutes.
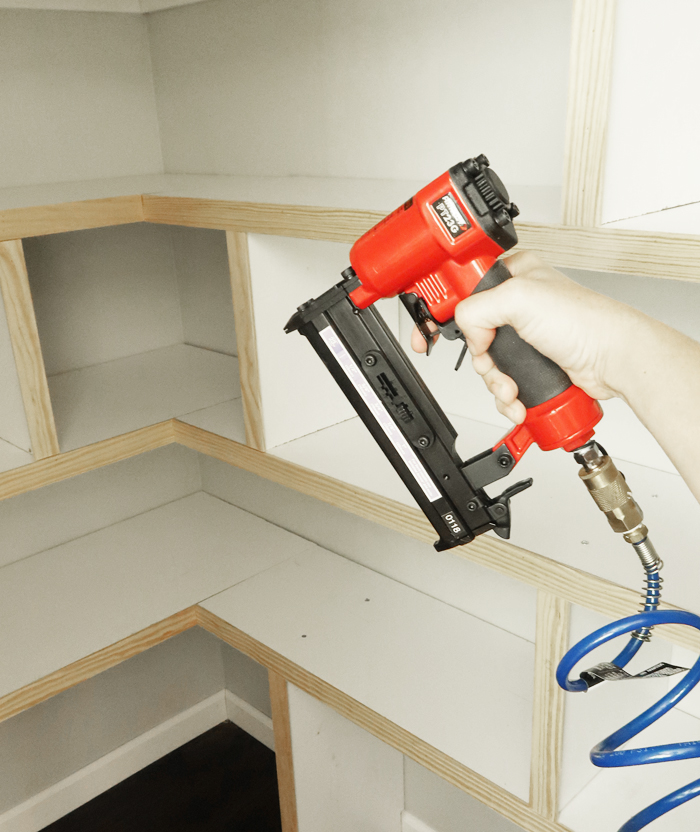
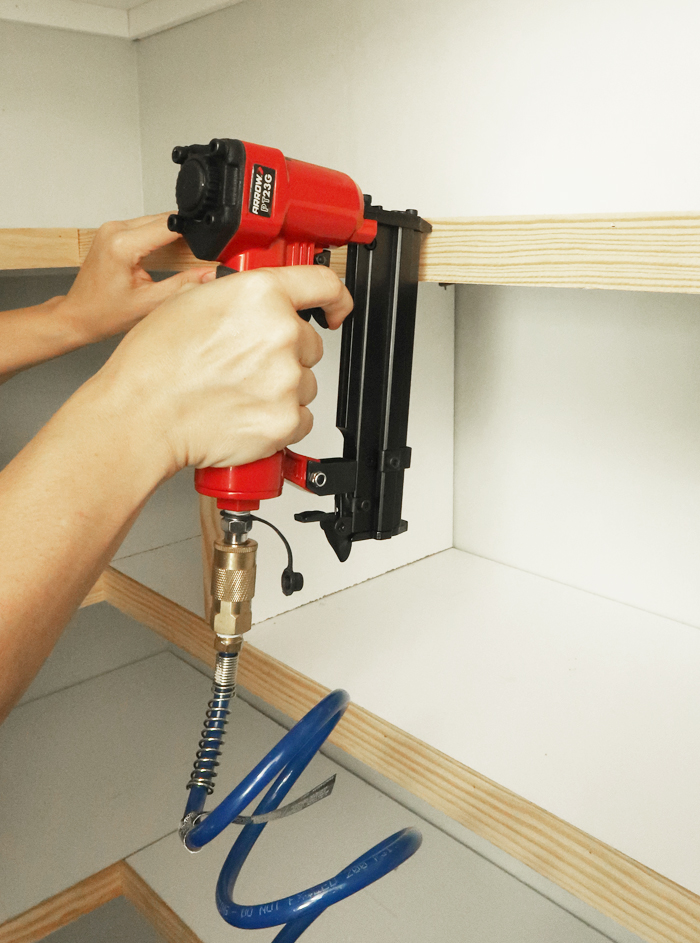
Once the trim was up, I spackled the nail holes and the screws then painted over them with two coats of paint.
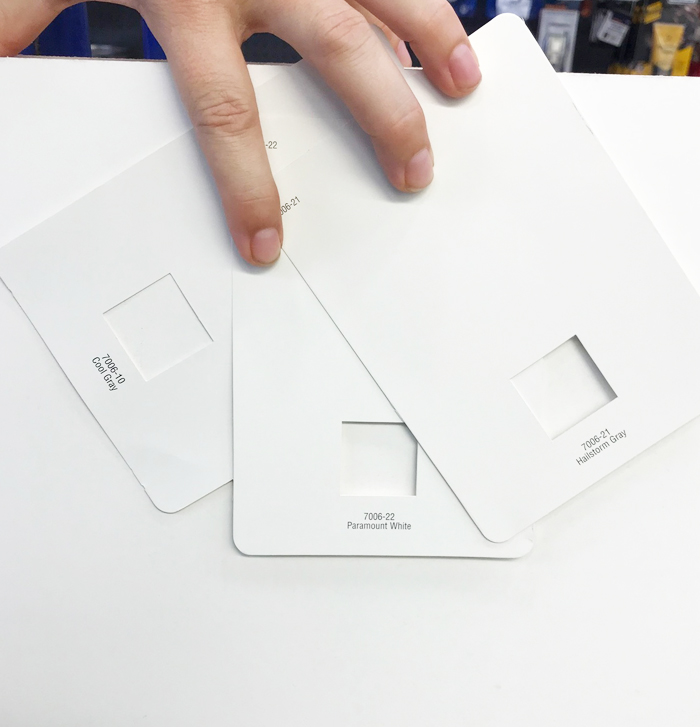
When I was at Lowe’s I color matched the white color on the shelves to a paint color in the store (Paramount White by Valspar) so that when I painted the lattice trim, the whites would be the same.
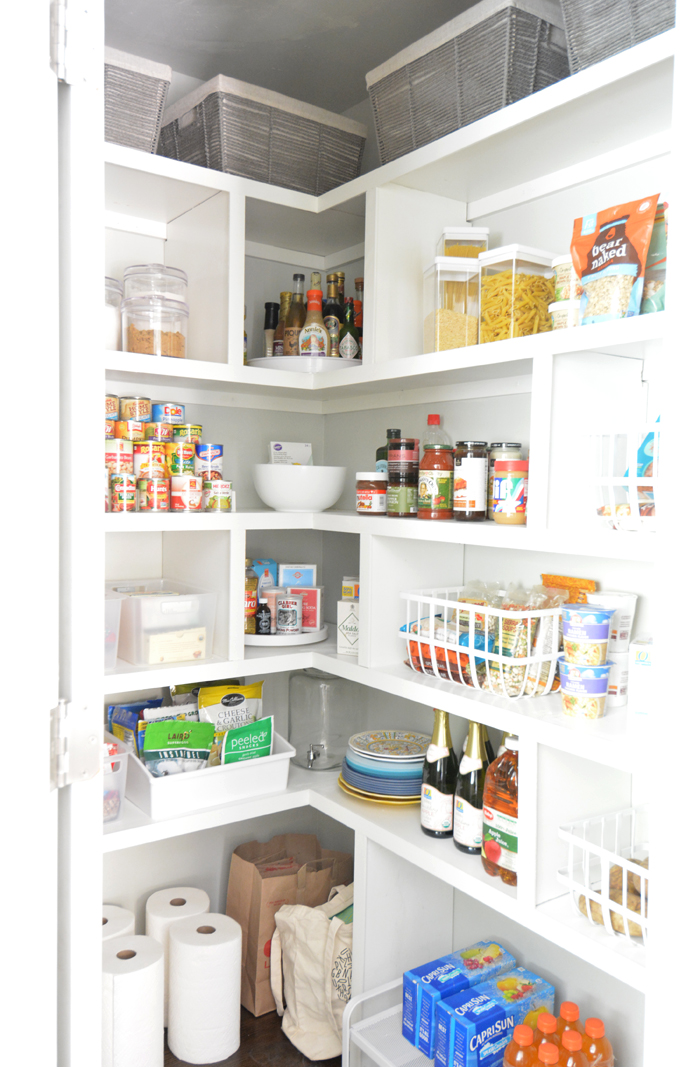
Once the paint was dry I went shopping for a few containers. I found these great wire baskets at Target for a great deal, they add both style and organization. :)
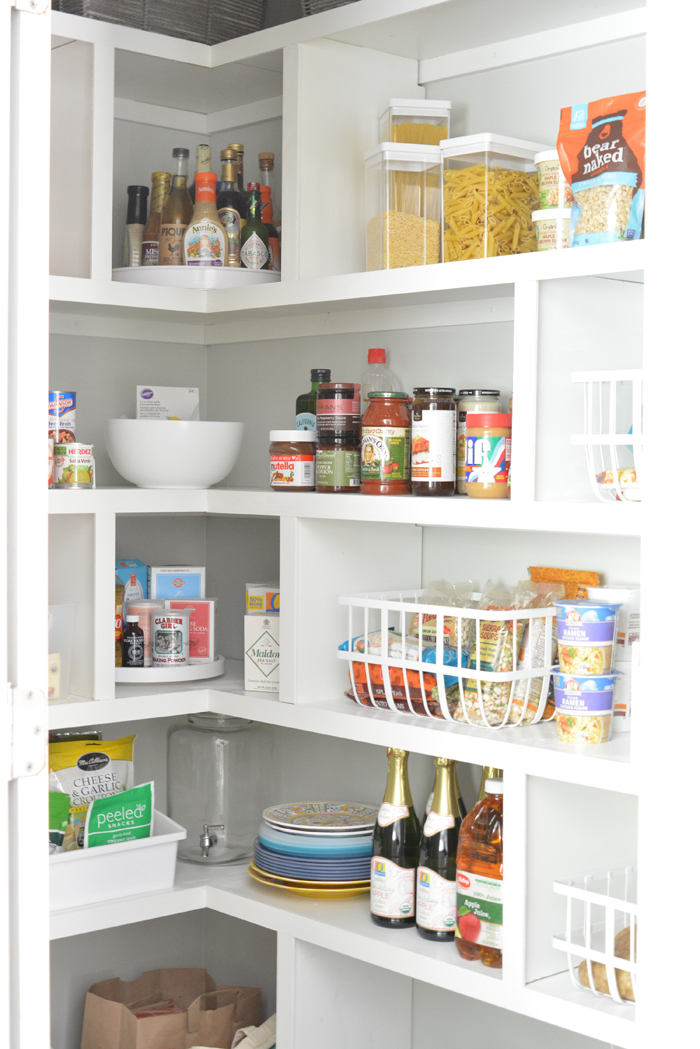
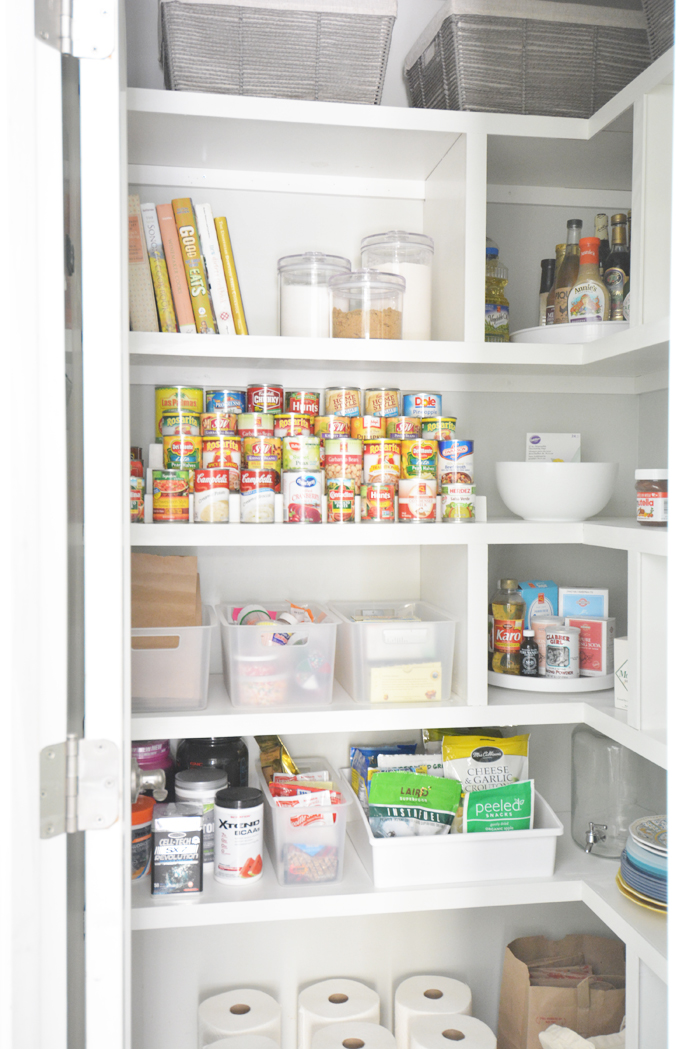
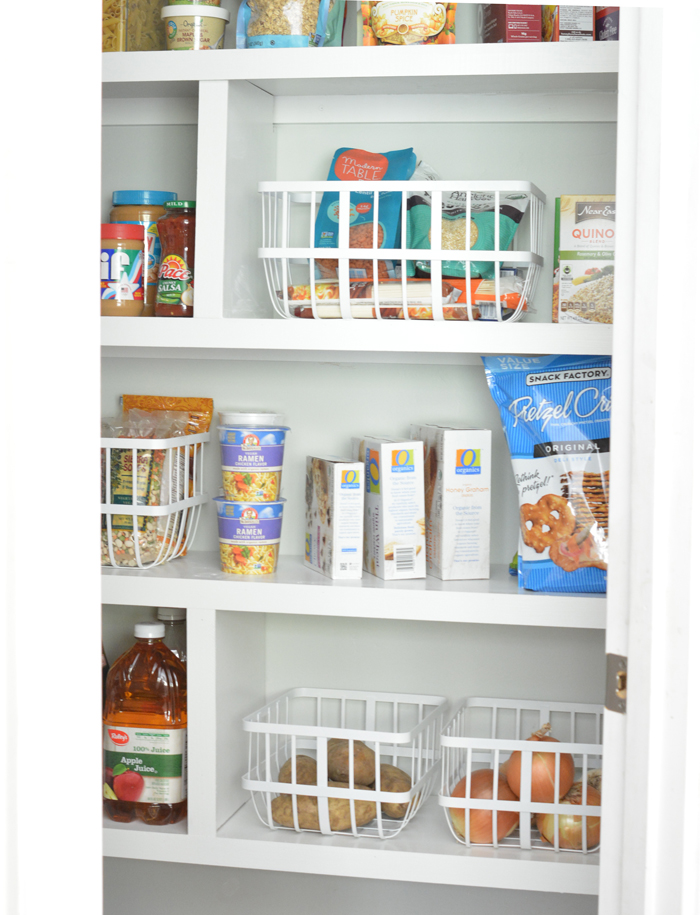
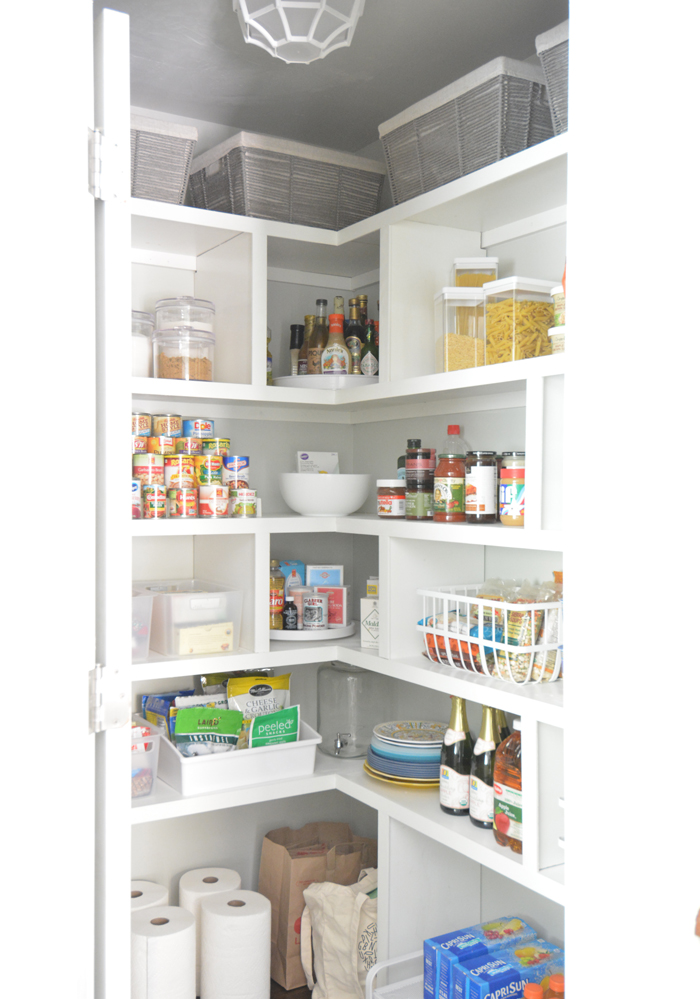
Huge improvement right?!
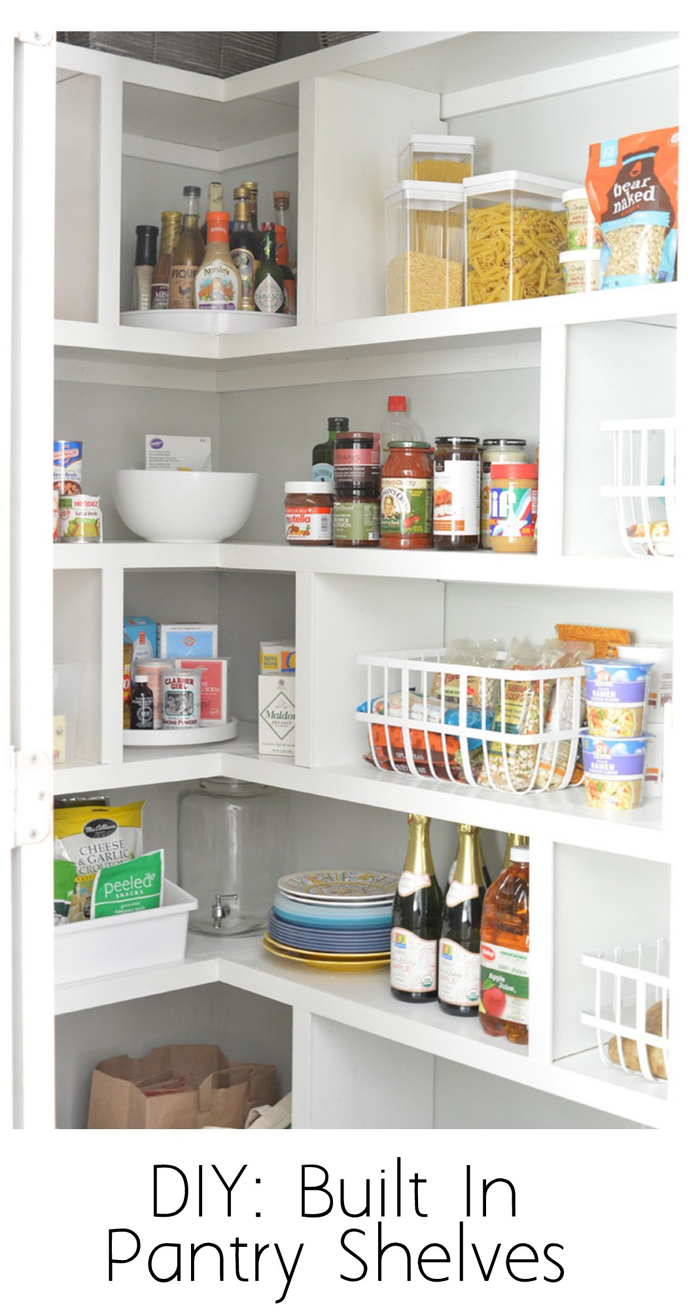
Let me know if you have any questions about the products used or the process and I’ll answer them in the comments!
*This post brought to you in partnership with Arrow Fastener tools, all opinions are my own! Thank you for supporting the brands that support this blog.
No comments:
Post a Comment